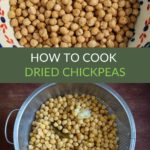
This is a step-by-step guide on how to cook dried chickpeas. It covers how to soak the chickpeas, the various cooking methods, and some great recipes to try out.
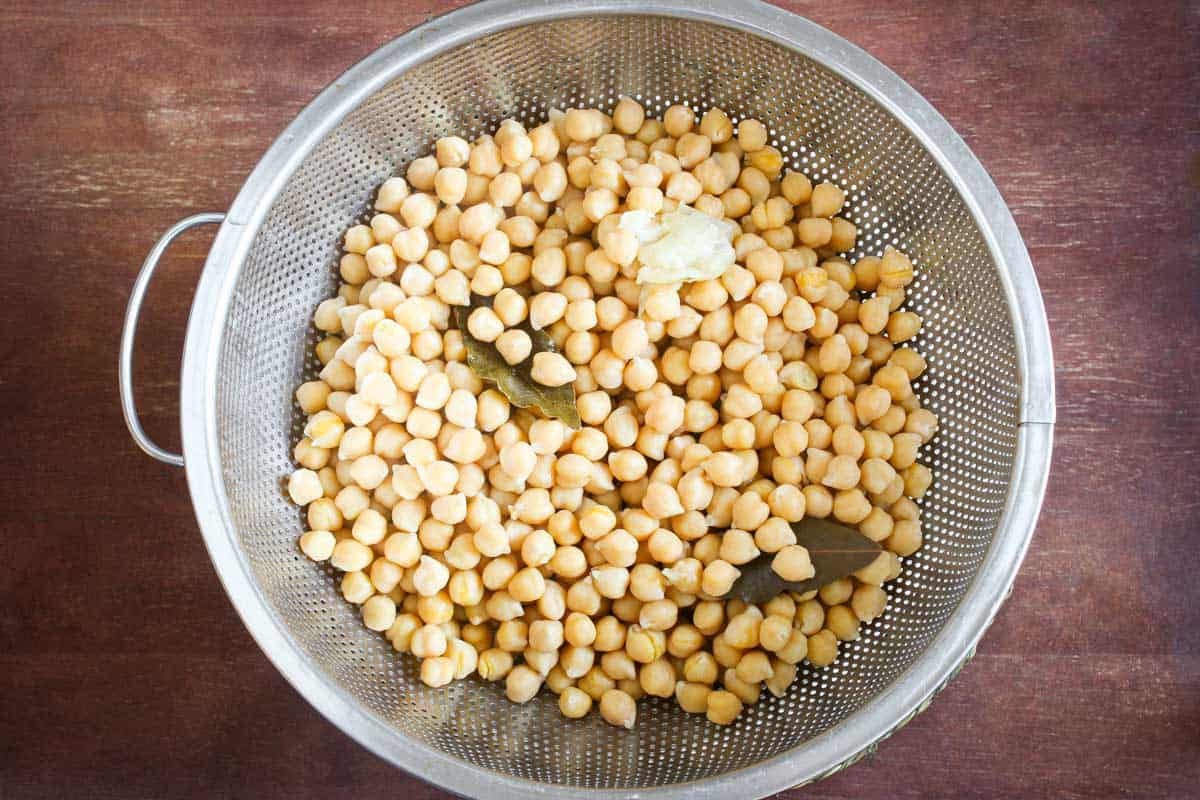
Tinned chickpeas will always have a place in my kitchen, but they're simply not as good as when you prepare them from scratch. Once the chickpeas are cooked, you can use them in place of any tinned chickpeas in recipes.
For information about other pulses such as beans and lentils, check out this Beginner's Guide to Pulses.
Why should you cook dried chickpeas?
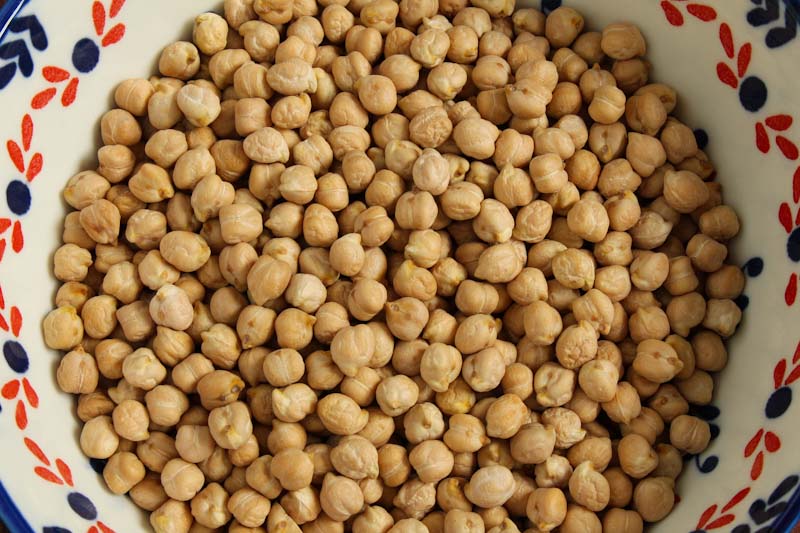
If time is on your side, it’s worth making the effort to cook dried chickpeas from scratch:
- They taste better than their tinned counterparts
- They are creamier inside but also have more of a bite
- You have full control over any additional flavours and textures
- They work out much cheaper than tinned
- They're easier to store in bulk
- They don't contain additives, preservatives, or firming agents
Tinned chickpeas are great for when you need to throw a meal together in a hurry. But if you want to do things right, dried is the way to go.
How long does it take to cook dried chickpeas?
The cooking time depends on various factors such as the size, variety, age, and desired texture of the chickpeas. It also depends on whether they have been soaked in advance.
Generally speaking, it can take anywhere from one hour to two hours to cook dried, pre-soaked chickpeas. The best thing to do is to check them every 15-20 minutes once the basic cooking time has elapsed.
Dried V cooked weight
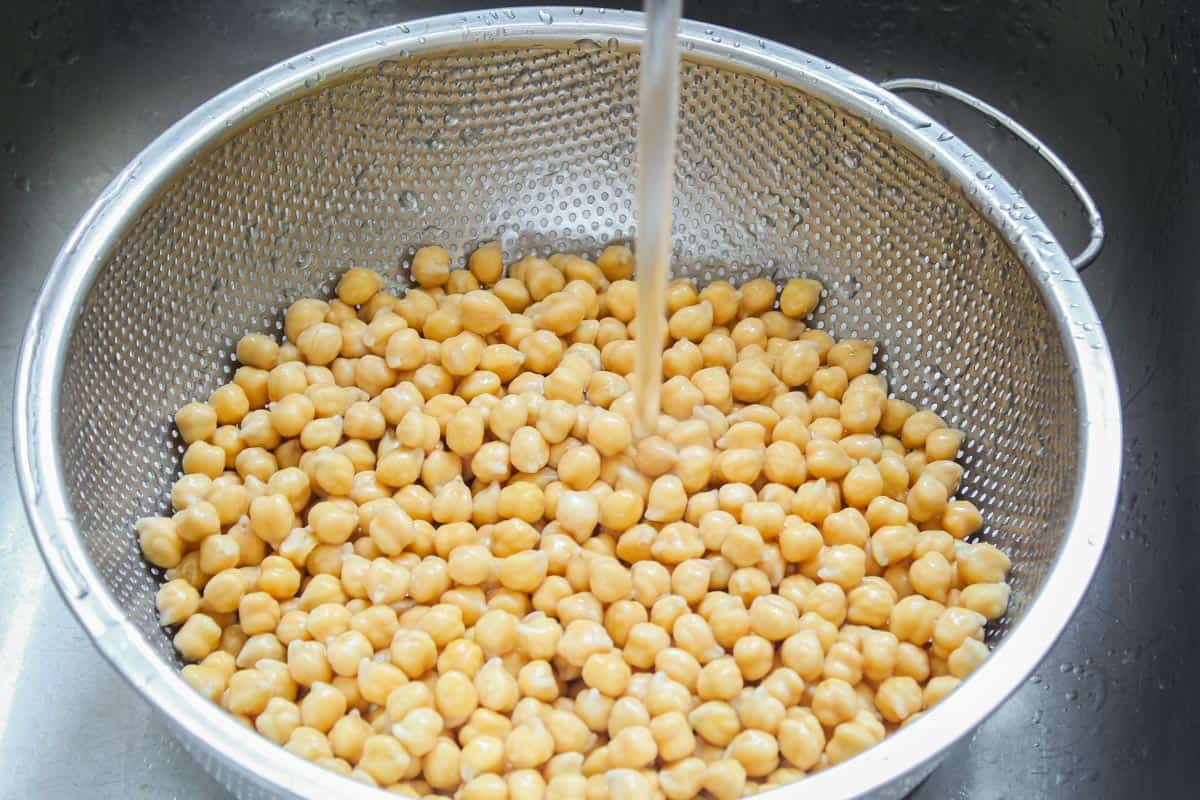
The general rule is that one cup of dried chickpeas will produce around two and a half cups of cooked chickpeas.
You would therefore need around 100g of dried chickpeas for every 400g tin of chickpeas you want to replace (since the tinned weight is approx. 250g after draining).
I create new content every single week. Subscribe to keep in touch and get a free download of The Vegan Kitchen – My Top 10 Tips.
Picking over dried chickpeas
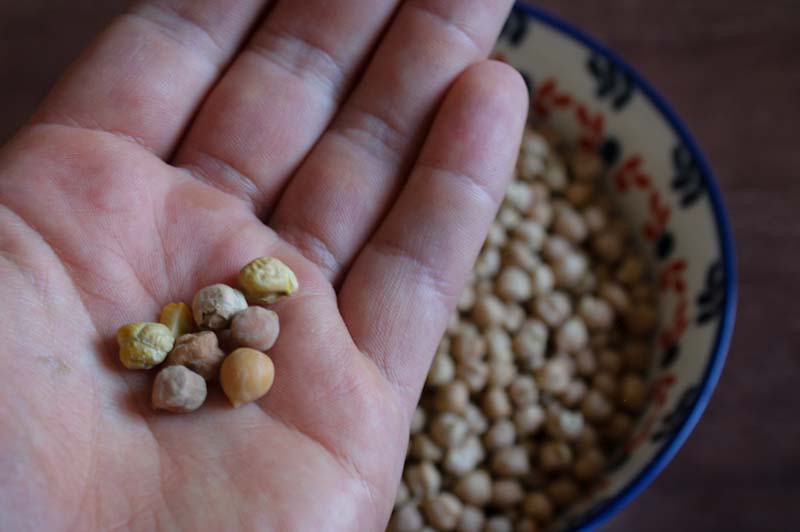
When dried chickpeas (or any pulses) are harvested, other things often find their way into the mix. These can include small stones, twigs, or other gritty items.
Before soaking and/or cooking, quickly pick over the chickpeas to remove any debris mentioned above. You should also remove any broken or discoloured chickpeas.
You don't have to be obsessive about this though – the rinsing and soaking processes will help surface up anything you might have missed.
Do you have to soak before cooking?
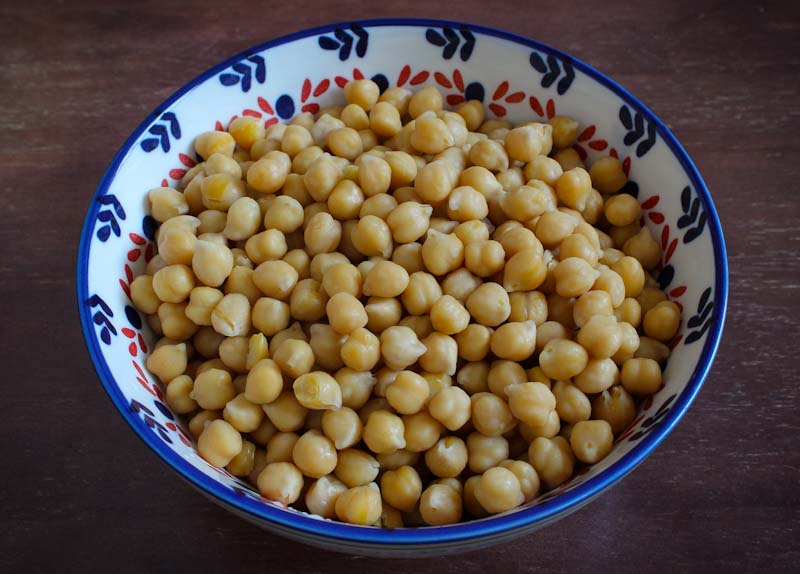
The short answer to this is no, but it's a good idea to. If you cook dried chickpeas on the hob/stove without soaking them first, you can expect a significantly longer cooking time.
Also, older chickpeas may lose more moisture and therefore take longer to rehydrate and cook. By soaking them first, you're essentially getting them all to a similar starting point.
People prefer to soak chickpeas because:
- It reduces the cooking time. Plain and simple. Soaked chickpeas have already absorbed water and doubled in size.
- It helps the chickpeas to cook more evenly. They've all had a chance to plump up before cooking, regardless of their age.
- It can help with digestion. According to Harvard T.H. Chan School of Public Health, pre-soaking chickpeas and other pulses can help people better tolerate them. This is because soaking reduces the amount of oligosaccharides that are responsible for the uncomfortable side effects.
Note: you should not consume dried chickpeas that have only been soaked. They will still need to be cooked in some form or another (see this recipe for crispy baked falafel).
The only exception to this is if you intend to sprout the chickpeas over the course of several days. Find out more about how to sprout chickpeas.
How to soak dried chickpeas
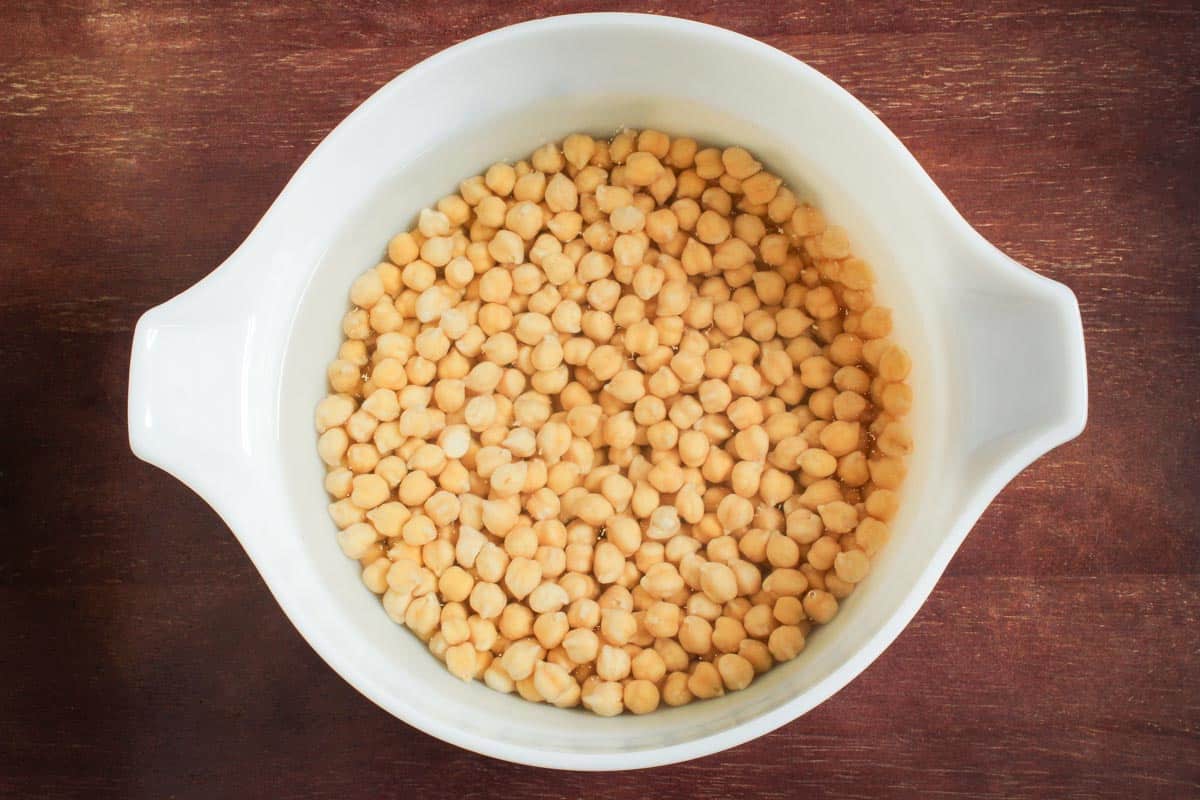
There are a couple of methods you can use to soak dried chickpeas.
If you have time to plan in advance, go for the traditional soak overnight. If you need to cook dried chickpeas more quickly, go for the quick soak method (or use a pressure cooker – see below).
Method 1: Traditional soak
Once you have picked over the chickpeas and rinsed them, place them in a large bowl and cover with a few inches of fresh water. The bowl should be large enough to allow them to at least double in size.
Place the bowl in the fridge and leave the chickpeas to soak overnight (anywhere from 8-24 hours). It's not recommended to soak chickpeas or other pulses in the fridge for much longer than 48 hours, as they may start to ferment.
Drain the chickpeas, give them a quick rinse, and they're ready to cook (see below).
Method 2: Quick soak
Once you've picked over the chickpeas and rinsed them, add them to a large cooking pot. Cover with several inches of water and bring to a boil.
Boil for 5 minutes, then turn off the heat. Leave the chickpeas to stand in this water for 1 hour.
Drain the chickpeas, give them a quick rinse, and they're ready to cook (see below).
Cooking on the hob (stove)
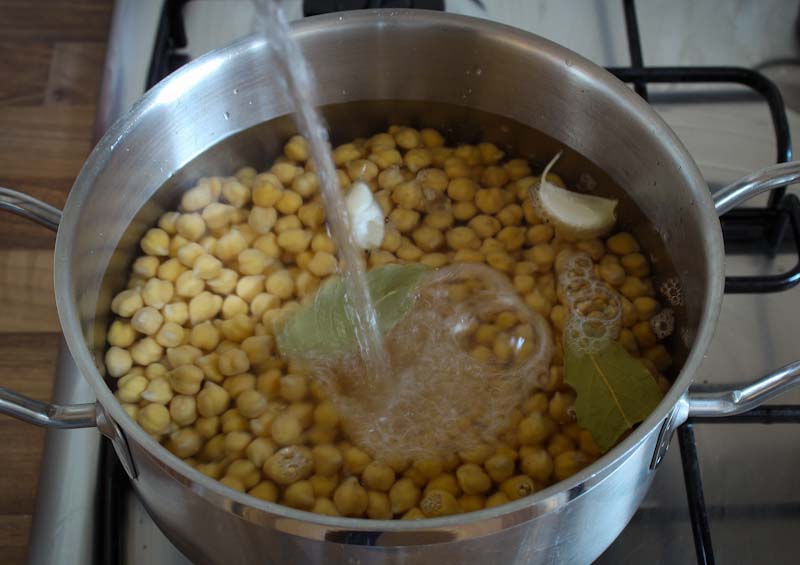
Before cooking dried chickpeas, it is recommended to soak them first (see options above). Regardless of the soaking method you used, drain the chickpeas and discard the soaking water.
Add the soaked chickpeas to a large cooking pot and cover with several inches of fresh water. Bring to a boil, then turn down the heat and simmer until soft and tender.
The cooking time can be anywhere from one hour to two hours, depending on the age of the chickpeas and the desired texture (see sections below). After an hour of cooking, check the consistency and repeat every 15-20 minutes until you have the texture you want.
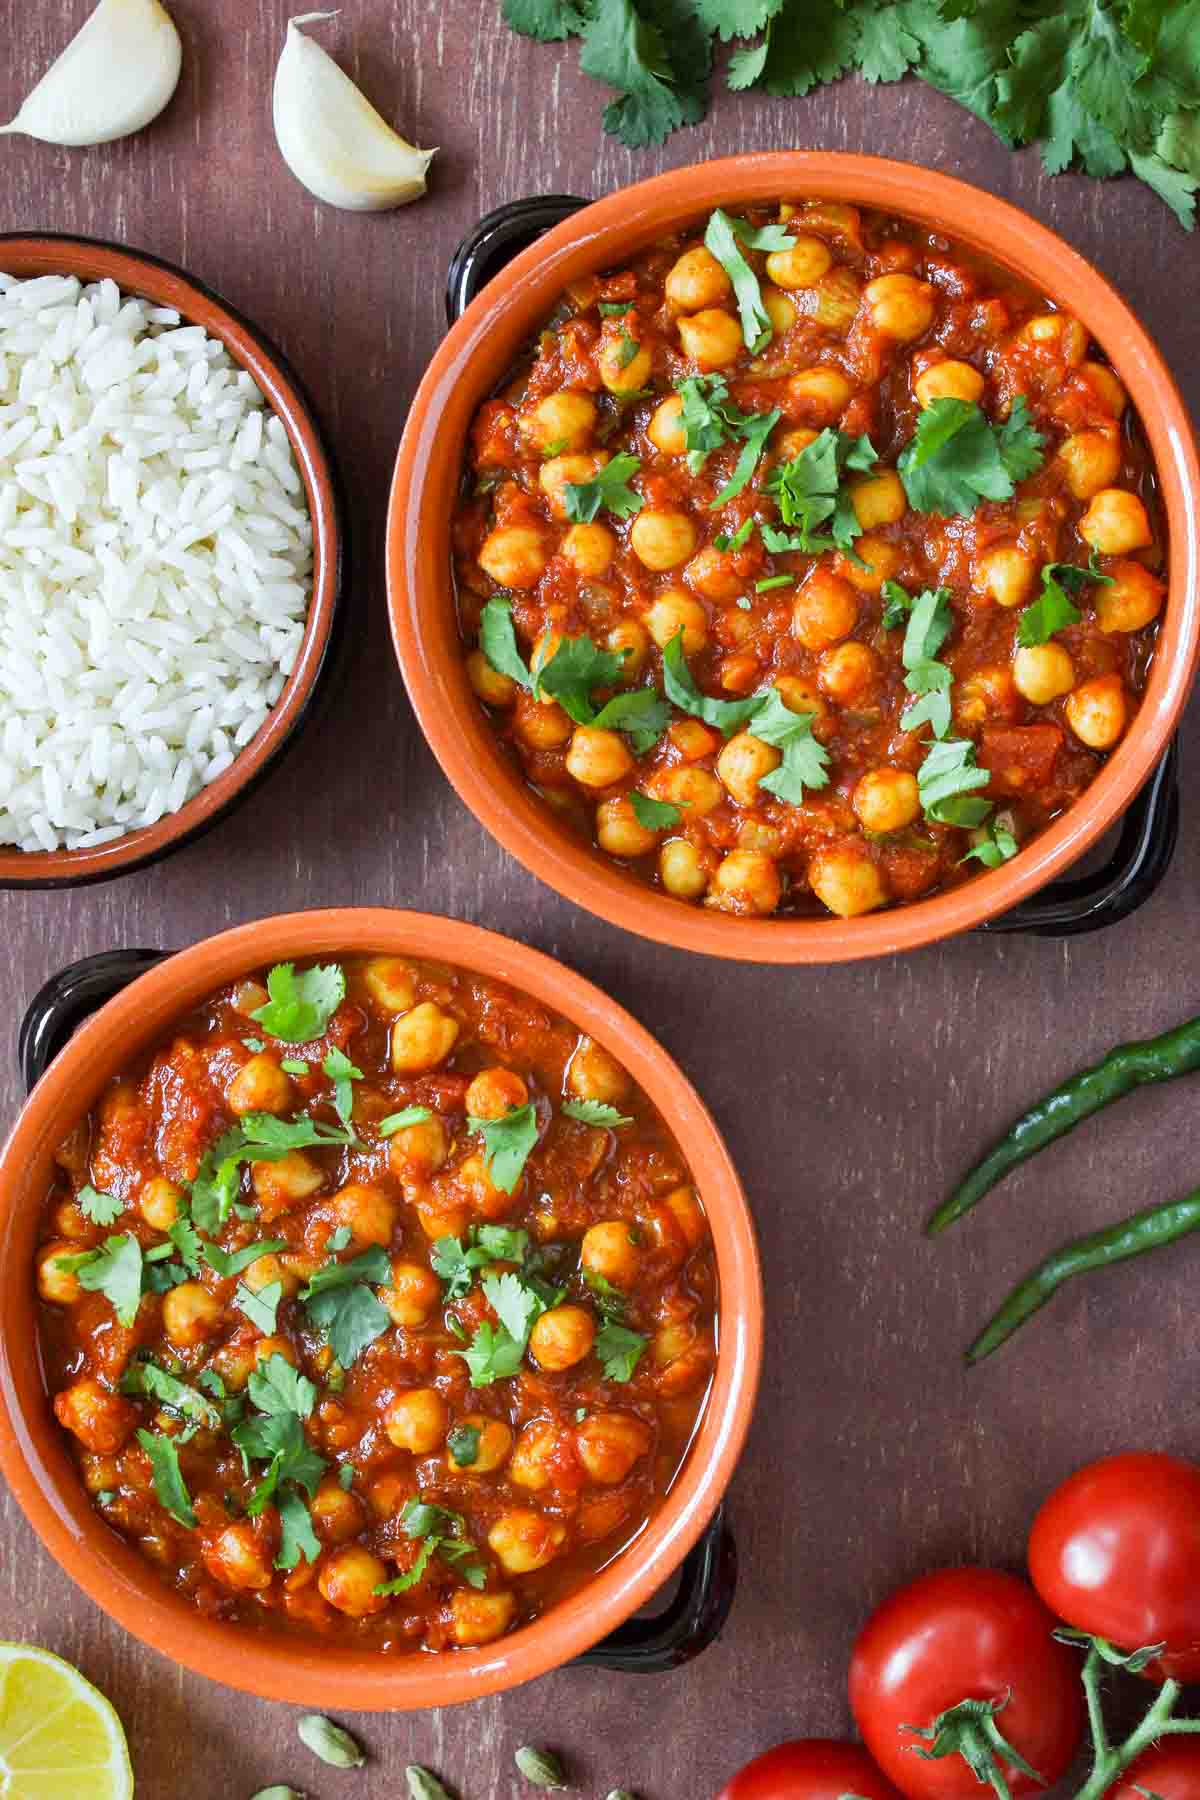
Once cooked, you can use the chickpeas in place of the tinned version in any recipes. You can also save the cooking broth to use in recipes, like this easy vegan chana masala.

Seasoning options
Depending on what you're going to use the chickpeas for, you can include various seasonings during the cooking process.
Whichever variant you go with, I'd recommend adding a good pinch of salt after an hour or so. Adding salt at the start of cooking can make the chickpeas a bit tough.
If you're cooking a big batch and want to use them for various purposes, then just keep it simple. This will also give you some unflavoured aquafaba to use in other recipes (see section on aquafaba below).
- Nice n' simple. Just add some salt after an hour of cooking.
- Bay & garlic. Add a couple of bay leaves and a few whole garlic cloves at the start, followed by salt after an hour. A good general savoury option.
- Mirepoix. Add chunks of onion, carrot, and celery at the start, followed by salt after an hour. Another good savoury option.
- Spiced. Add a cinnamon stick, a few cardamom pods, a few dried cloves, a teaspoon of turmeric, and then salt after an hour. Nice in salads or for further use in curries etc.
Using a pressure cooker
When cooking chickpeas in a pressure cooker, they can be either soaked or unsoaked. If you aren't soaking, remember to still remove any debris and give them a rinse.
Soaked chickpeas
Add the soaked chickpeas to your pressure cooker and cover with a couple of inches of fresh water. Seal the lid and cook on high pressure for 12-15 minutes (approx. 4-5 'whistles' in a non-electric cooker).
Let the pressure drop naturally for 15 minutes, before carefully venting the rest. The lid is safe to open once the valve has dropped.
If you're unsure of how to use your specific pressure cooker, read the manual before cooking.
Unsoaked chickpeas
Add the dried, unsoaked chickpeas to your pressure cooker and cover with a couple of inches of fresh water. Seal the lid and cook on high pressure for 40-45 minutes.
Let the pressure drop naturally for 15 minutes, before carefully venting the rest. The lid is safe to open once the valve has dropped.
If you're unsure of how to use your specific pressure cooker, read the manual before cooking.
Using a slow cooker
You can also cook dried chickpeas in a slow cooker. There's no need to soak them before doing this (although you can use soaked chickpeas).
Add the dried, unsoaked chickpeas to your slow cooker along with any seasonings and cover with about an inch of fresh water. Cook for 4 hours on high or 6-8 hours on low.
How to know when they're cooked
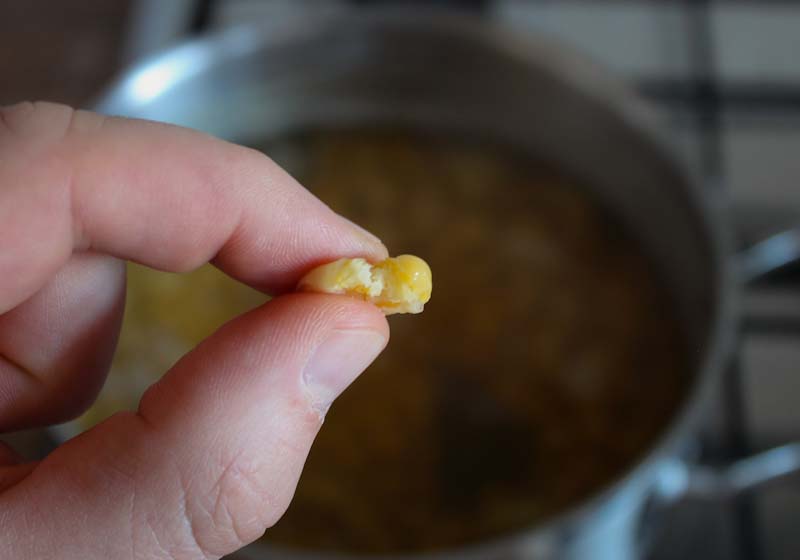
The cooking time will vary depending on the method and what you want to use your chickpeas for. At the very least, you should be able to easily squeeze a cooked chickpea between your fingers.
If cooking on the hob/stove, this means at least an hour but more likely 90 minutes to two hours.
To use the chickpeas in a curry, stew, or salad, it's good for them to still have a bit of shape. If you're wanting to make hummus then the softer the better.
Why are my chickpeas not cooking?
Remember – factors such as the size, variety, and age of the chickpeas can all affect the cooking time. If you've been cooking for hours on end and the chickpeas are still hard, it could simply be that they're very old.
If you're really struggling, you could try adding ¼ teaspoon of baking soda to the cooking water. This helps to break the chickpeas down, but might affect the final taste.
Aquafaba (chickpea cooking water)
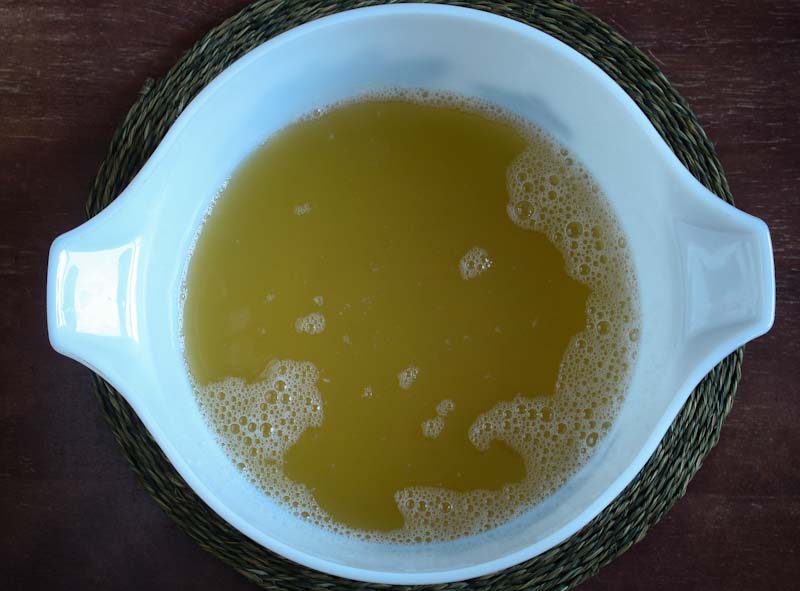
Aquafaba – literally 'bean water' – is the viscous liquid left behind after cooking chickpeas. It's the same as the water that you'd drain from a tin of chickpeas.
Aquafaba has become a popular ingredient in vegan baking as it mimics the properties of egg white. You can use it to make recipes such as vegan meringues and marshmallows.
It may not look very appealing, but it whips up into a pure white colour and doesn't taste at all of chickpeas. So if you're wanting to experiment with vegan egg whites, save that cooking water.
Note: to use the cooking water for aquafaba, avoid any savoury seasonings. Unless you like celery or turmeric meringues, that is...
How to store cooked chickpeas
To refrigerate, place the cooked chickpeas in a container or resealable bag and store in the fridge for 3-4 days. Make sure they've been well drained beforehand.
You can also freeze the chickpeas for up to 6 months. Make sure you drain them well and pat them dry before freezing.
Chickpea recipes
There's more to chickpeas than just hummus (although hummus is great).
These delicious little pulses can be turned into smoky roasted chickpeas, added to chickpea salad, Waldorf salad, bulgur pilaf, or couscous, tossed in a stir-fry, added to chickpea stew, or used in place of other beans in a lemony stew or chilli.
You can also throw them into curries like chana masala, vegan biryani, chickpea and cauliflower coconut curry, or creamy chickpea and lentil curry.
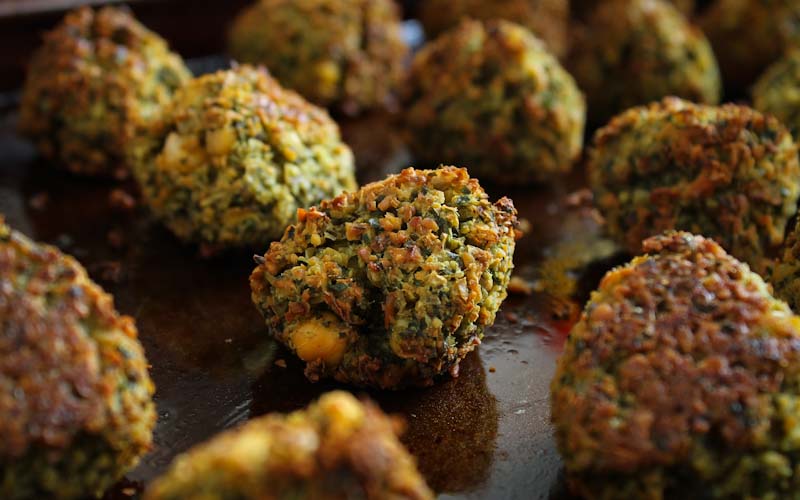
One of my favourite chickpea recipes is crispy baked falafel. Here, you only need to soak the dried chickpeas overnight before blending with herbs and spices. No need to cook them in water – simply shape into balls and bake in the oven.
Keep in touch
Subscribe below to receive a weekly newsletter with my latest recipes. Nice and simple. No pesky pestering. No spam (which wouldn’t be very vegan anyway).
Full recipe
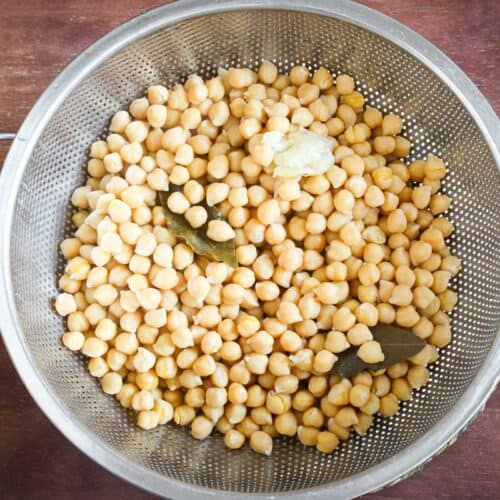
How to Cook Dried Chickpeas (Garbanzo Beans)
Ingredients
- 300 g dried chickpeas (300 g will result in approx. 750 g cooked chickpeas)
- Fresh water (enough to cover)
- Seasonings such as bay leaves, garlic, onion, cardamom, turmeric (all optional)
- Salt (optional)
Instructions
Prepare the dried chickpeas
- Pick over the dried chickpeas to remove any small stones, twigs, or discoloured chickpeas.
- Soak the chickpeas in water. If you have time to plan in advance, go for the traditional soak overnight. If you need to cook dried chickpeas more quickly, go for the quick soak method (or use a pressure cooker – see notes).Method 1: traditional soakRinse the chickpeas, place in a large bowl, and cover with a few inches of fresh water. The bowl should be large enough to allow them to at least double in size. Place the bowl in the fridge and leave the chickpeas to soak overnight (anywhere from 8-24 hours). Drain the chickpeas and give them a quick rinse.Method 2: quick soakRinse the chickpeas and add them to a large cooking pot. Cover with several inches of water and bring to a boil. Boil for 5 minutes, then turn off the heat. Leave the chickpeas to stand in this water for 1 hour, before draining and rinsing.
Cook the soaked chickpeas
- Add the soaked chickpeas and any seasonings (but not salt) to a large cooking pot and cover with several inches of fresh water. Bring to a boil, then turn down the heat and simmer until soft and tender. The cooking time can be anywhere from one hour to two hours, depending on the age of the chickpeas and the desired texture.
- After an hour of cooking, add a good pinch of salt. Check the consistency of the chickpeas and test every 15-20 minutes from now on until you have the texture you want. At the very least, you should be able to easily squeeze a cooked chickpea between your fingers.
- Drain the chickpeas once cooked, then use in place of the tinned version in any recipes.
Notes
- Easy Vegan Chana Masala
- Chickpea and Cauliflower Coconut Curry
- Easy Vegan Hummus
- Crispy Smoky Roasted Chickpeas
- Crispy Baked Falafel
- Chickpea Stir-Fry
- Nice n’ simple. Just add some salt after an hour of cooking.
- Bay & garlic. Add a couple of bay leaves and a few whole garlic cloves at the start, followed by salt after an hour. A good general savoury option.
- Mirepoix. Add chunks of onion, carrot, and celery at the start, followed by salt after an hour. Another good savoury option.
- Spiced. Add a cinnamon stick, a few cardamom pods, a few dried cloves, a teaspoon of turmeric, and then salt after an hour. Nice in salads or for further use in curries etc.
Nutrition
Social follow
🌱 Follow along @thepeskyvegan on Instagram, Pinterest, and Facebook.
Further reading
📩 Fancy keeping in touch? Subscribe to my weekly newsletter.
📖 Find out more about my story.
🍽️ Want to get straight to the food? Hop aboard the recipe train.
🌿 Got a question about veganism? You might find the answer in these vegan FAQs.


Ian Edwards
Straightforward - and the cold water soaking prior to boiling approach proves very effective in practice - every time so far.
The Pesky Vegan
Good stuff - cheers for the review!
Vicky
Definitely worth the effort when making falafel 🙂 thanks Pesky
The Pesky Vegan
I'd actually recommend not cooking the chickpeas ahead of making falafel - you just need to soak them for a while. Chickpeas cooked from scratch are great for many other recipes though!